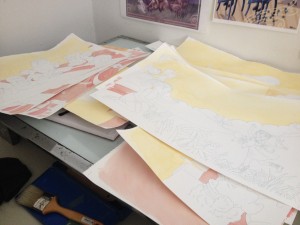
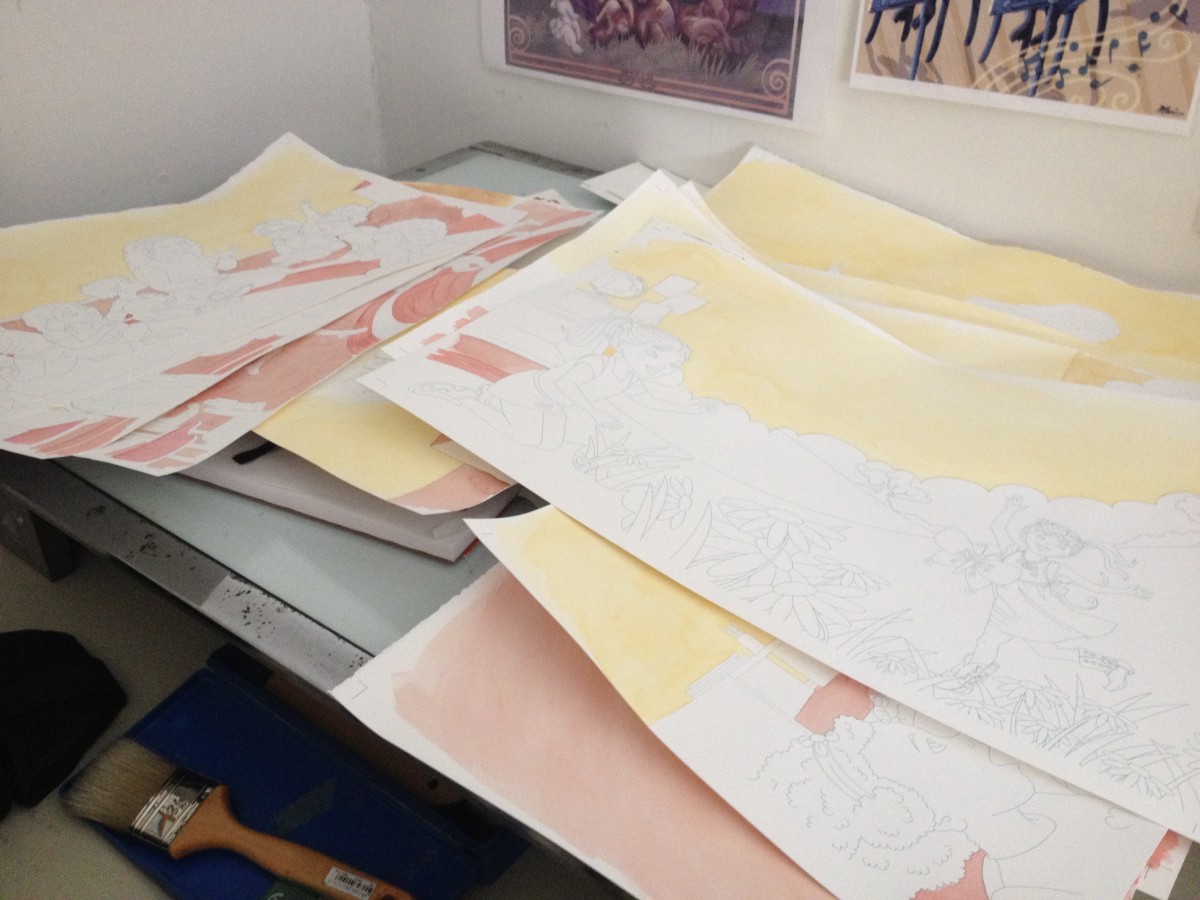
I let my printed watercolor sheets sit for a few days to make sure the ink is nice and dry before I start painting first washes of color. My Canon PIXMA Pro9000 doesn’t have waterproof ink. Although, I looked into getting some, I also use the printer as an everyday inkjet and share it with my husband when he needs to print something at home. I just don’t see the expensive ink being justified for this. Especially since the printed line art will mostly blend into the painting of the first washes of color.
Painting first washes of color
I start with the largest section of the background. In this case a creamy pale orange-yellow on the classroom walls and the dusty red-tan for the rug on the floor.
 As you can see, I haven’t stretched and taped my paper at this point. So the pages are buckling and warped. Not to worry, once I have the big washes down, I will do that. My trick is to mist the back of each painting and let it soak in before flipping it and attaching it to a white felt covered canvas board. I use regular masking tape and make sure to tape outside of the crop marks which I include in the file I print to the watercolor paper.
I like to mix a desert-sized bowl of the pigment I’ll be using so there isn’t a large color drift from the first painting to the last. I use a porcelain bowl so there isn’t a chance of staining or chemical reaction from the paints I use.
I have a pretty standard color palette of a mix of Windsor Newton, American Journey and Van Gogh paints. Occasionally, I’ll find a color I really love in another brand and add that in. I like American Journey paints because they come in larger tubes, have a vast variety of pigments to choose from and are generally less expensive.
The vignettes won’t be getting any background treatments, so you don’t see them here.
This usually takes me a day or so.


 RSS - Posts